2 years ago
216
2 years ago
216
The post What NOT To Do When Etching Glass appeared first on Penny Pinchin' Mom.
Are you ready to explore the world of glass etching? Hold onto your craft supplies because this DIY project isn’t as simple as it looks! Glass etching can transform ordinary glassware into stunning, personalized pieces of art. But here’s the thing: one wrong move and you could end up with a ruined project, wasted materials, and a whole lot of frustration.
Why should you care about avoiding these mistakes? Because one slip-up can turn your dream project into a costly disaster. Imagine spending hours on a personalized wedding gift, only to ruin it at the last minute. Or picture yourself excitedly unwrapping your newly etched glassware, only to find smudged designs and uneven frosting. These mistakes don’t just waste your time and money – they can crush your crafting confidence. By learning what not to do, you’ll save yourself from heartache, preserve your materials, and create stunning pieces that’ll make your friends ask, “Where did you buy that?” (Spoiler: You made it yourself!)
So, are you ready to become a glass etching pro? By learning from my mistakes (trust me, I’ve made plenty), you’ll save yourself time, money, and a whole lot of headaches.
Also See: DIY Glitter Wine Glass for Mom
Mistake #1: Skipping Safety Precautions
This is crucial, but the level of precaution depends on your etching method. When I first started etching glass, I thought, “How dangerous could it be?” Well, it varies:
- For chemical etching (using cream or liquid): The main concern is the corrosive nature of the chemicals. They can irritate your skin and eyes, and the fumes can be harmful if inhaled.
- For abrasive etching (using a sandblaster or rotary tool): This method produces fine glass dust, which can get everywhere and be harmful if inhaled or if it gets in your eyes.
Regardless of the method, here’s what you need to do:
- Wear long sleeves and gloves. Make sure to cover up!
- Work in a well-ventilated area. If possible, do it outside.
- Wear a mask, especially for abrasive methods.
- Always wear eye protection! Your eyes are precious, so keep ’em safe.
Remember, safety isn’t just about your project – it’s about you! Don’t skip these steps.
Mistake #2: Rushing Through Prep Work
It’s tempting to want to jump right in and get to work on your first piece, but patience is key. Prepping is the foundation of your project, and if you mess this up, you’re probably in for a world of disappointment.
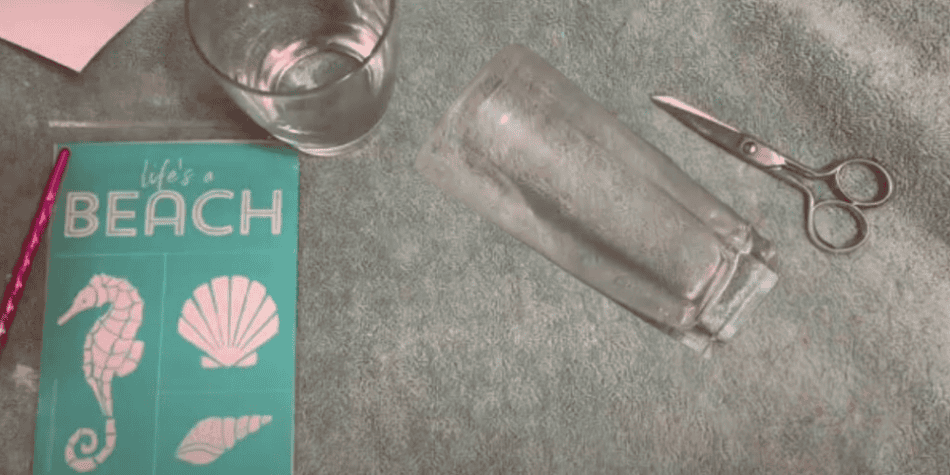
Here’s a story for you: I once tried to etch my glass tumbler three times in a row. Every time I rinsed it off, everything came off. It just wouldn’t stick! When I held the tumbler up to the light, I could see the outline as clear as day, but it didn’t have that frosted look we all wanted. It turns out I had a type of glass that couldn’t be etched.
So, what does proper prep work look like? Let’s break it down:
- Choose the right glass: Not all glass is created equal. Borosilicate glass, for example, is a no-go. Stick to soda-lime glass, which is what most everyday glassware is made of. If you’re unsure, do a small test patch in an inconspicuous area first.
- Clean thoroughly: Any oils, dirt, or residue can interfere with the etching process. Wash your glass with soap and water, then wipe it down with rubbing alcohol. Let it dry completely before you start.
- Plan your design: Sketch it out on paper first. This helps you avoid mistakes and ensures your design fits the glass properly.
- Apply your stencil carefully: Whether you’re using vinyl or contact paper, make sure there are no air bubbles or gaps where the etching cream could seep under.
- Protect the rest of the glass: Cover any areas you don’t want etched with tape or contact paper. This is especially important for intricate designs.
- Double-check everything: Before you apply any etching cream, take a final look. Is your stencil secure? Are all the areas you want to protect covered? It’s much easier to fix mistakes now than later.
Remember, rushing through these steps is a surefire way to end up with a subpar result. Take your time, do it right, and you’ll set yourself up for etching success!
Mistake #3: Messing Up Your Stencil

Think of your stencil as the blueprint for your design. Get it right, and you’re well on your way to a stunning piece. Get it wrong, and you might as well start over. Here’s how to avoid stencil slip-ups:
- Choose the right material: Not all stencils are created equal. For glass etching, vinyl or contact paper works best. Avoid paper stencils as they can absorb the etching cream and blur your design.
- Design with care: When creating your stencil, remember that any areas you cut out will be etched. For text, use stencil fonts or thicken thin letters to prevent breakage.
- Size matters: Ensure your stencil fits your glass piece perfectly. Too big or too small, and you’ll end up with an awkward-looking design.
- Clean before applying: Just like you cleaned the glass, make sure your hands are clean and oil-free when handling the stencil. Oils from your skin can interfere with adhesion.
- Apply with precision: Start from the center and work your way out, smoothing as you go. This helps prevent air bubbles and ensures even application.
- Seal the edges: Here’s where many people slip up. After placing your stencil, run your finger along all the edges. Then do it again. And maybe one more time for good measure. Use a credit card or squeegee for extra assurance.
- Check for gaps: Hold your stenciled glass up to a light source. Any gaps or bubbles will show up clearly. Fix these before you start etching.
- Let it set: Give your stencil time to adhere fully before applying etching cream. This extra few minutes can save you from disaster.
- Protect surrounding areas: Use painter’s tape or additional contact paper to cover any exposed glass around your stencil.
It might seem like overkill, but triple-checking your stencil is worth it. I once rushed through this step and ended up with etching cream seeping under my stencil. The result? A blurry, blob-like design instead of the crisp monogram I had planned. Trust me, you don’t want to learn this lesson the hard way!
Mistake #4: Getting Impatient with Etching Cream

Now that you’ve got your safety gear on, you’ve prepped your glass, and your stencil is perfect, it’s time for the main event: applying the etching cream. This step can make or break your project, so let’s dive into the details:
- Choose the right cream: Not all etching creams are created equal. Look for a cream specifically designed for glass etching. Armour Etch is a popular brand, but there are others. Avoid creams meant for metal or other materials.
- Stir it up: Before you start, give your etching cream a good stir. This ensures an even consistency and better results.
- Apply generously: Don’t be stingy! Apply a thick, even layer of cream over your stencil. Aim for about 1/8 inch thick. If it’s too thin, you might get patchy results.
- Mind the temperature: Etching cream works best at room temperature. If it’s too cold, it might not etch evenly. Too hot, and it could dry out too quickly.
- Timing is everything: This is where patience comes into play. Most creams need about 5-10 minutes to work their magic, but always check the instructions on your specific product. Set a timer to be precise.
- Resist the urge to peek: I know it’s tempting to lift a corner of the stencil to check progress, but don’t do it! This can lead to uneven etching or cream seeping under the stencil.
- Consider multiple applications: For a deeper etch, you might need to apply the cream more than once. Just make sure to rinse and dry the glass completely between applications.
- Removal matters: When your timer goes off, don’t just rinse the cream off. Use a plastic scraper or old credit card to gently scrape most of the cream back into its container (yes, you can reuse it!). Then rinse thoroughly with cool water.
- The reveal: After rinsing, gently remove your stencil. If you see any spots you missed, don’t try to touch them up now – you’ll need to start the whole process over for an even look.
- Final cleaning: Give your newly etched glass a good wash with soap and water to remove any residual cream.
Here’s a cautionary tale from my own experience: I once got distracted while waiting for my etching cream to work. I came back 30 minutes later to find the cream had dried out, leaving a crusty, uneven mess on my glass. Not only was my project ruined, but I had to spend ages scrubbing off the dried cream. Learn from my mistake: set a timer and stay focused!
Wrapping It Up
These are the four biggest mistakes that can turn your glass etching project from fab to drab. Remember, glass etching isn’t a race – it’s all about patience and attention to detail. It might take a few tries to get it just right, but don’t give up! Each attempt is a learning experience, and before you know it, you’ll be etching like a pro.
The post What NOT To Do When Etching Glass appeared first on Penny Pinchin' Mom.