8 minutes ago
1
The post 18 Medicine Cabinet Fixes So You Can Find the Thermometer Before the Fever Gets Worse appeared first on Penny Pinchin' Mom.
Someone’s sick, every forehead feels hot, and you’re digging through a packed cabinet trying to find the thermometer before the fever gets worse. Years ago, with a sick house and a phone flashlight propped on the sink, I pulled four boxes of cold medicine out of that cabinet before I found the thermometer, and three of them had expired the winter before. I kept expired allergy medicine for six years because I was “sure I’d need it eventually.”
Medicine cabinet organization isn’t about Pinterest perfection. It’s about finding what you need before the coffee you poured this morning goes cold. Most of what follows costs nothing but the time it takes to sort what you already own.
Empty It, Check It, Clean It
1. Empty Everything Onto a Towel
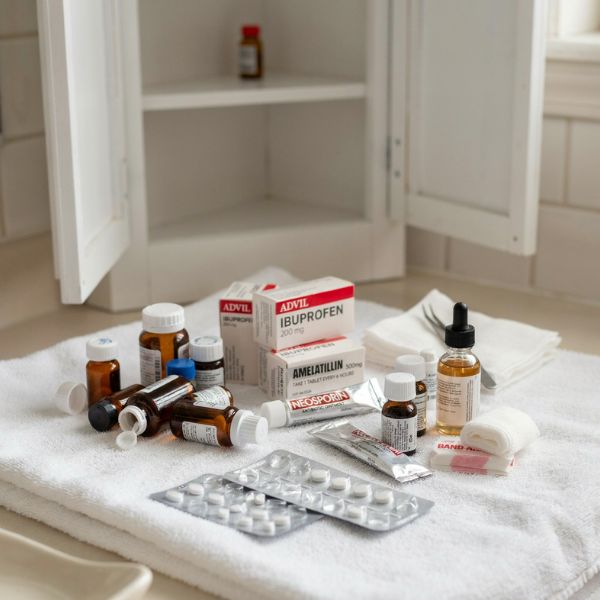
Before you sort a single thing, pull it all out. Every bottle, box, tube, and loose bandage goes onto a bath towel spread across the counter or kitchen table. Cost: $0. A towel you already own works better than a tray because it keeps bottles from rolling, but a baking sheet or serving tray does the job too.
Half the reason a medicine cabinet gets out of hand is that you only ever see the front row. Pull it all out, and the duplicates show up immediately, along with the three boxes of the same thing because nobody could find the first two. You can’t date-check or group what you can’t see all at once.
2. Check Every Date
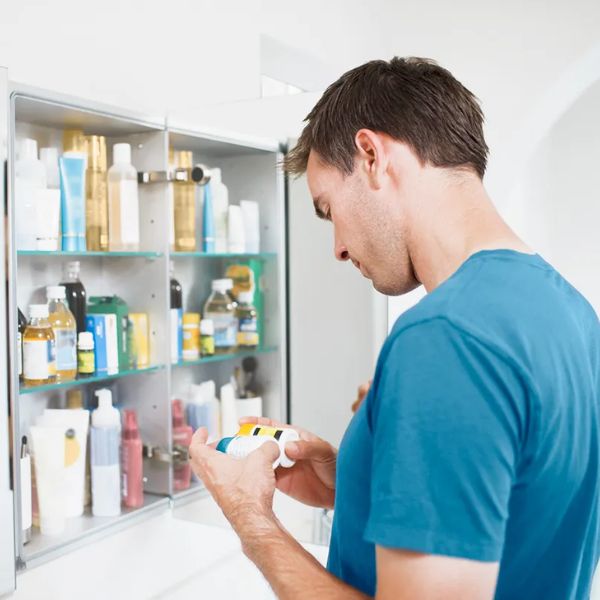
Two piles are all this step needs: keep and toss. Cost: $0. Turn each box and bottle so the stamped date faces you, and when the printing has rubbed off a tube or faded on a cap, put it in the toss pile rather than guessing.
Expired medicine can lose potency over time, and some items, including certain emergency medications, are especially time-sensitive. That’s a storage fact, not advice about what to take. If you have a question about a specific item, your pharmacist can answer it in about thirty seconds at the counter.
Set a calendar reminder to run this check twice a year.
3. Pull Anything You Can’t Identify
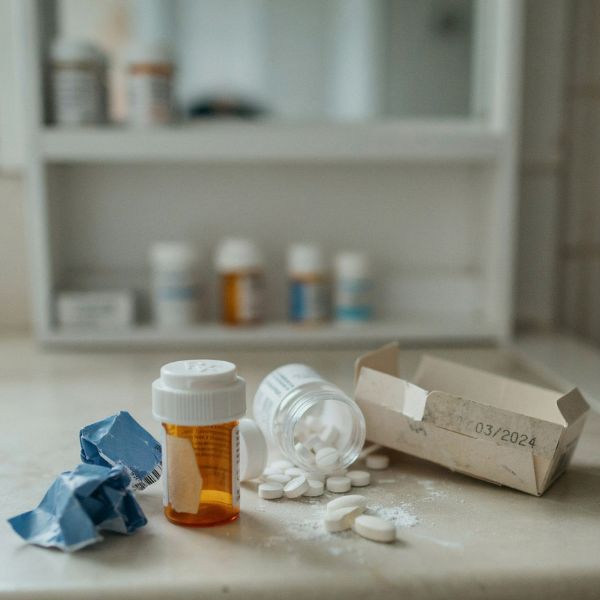
That bottle with the half-peeled label nobody recognizes goes in the toss pile, no debate. Same with loose pills rattling in the bottom of a drawer, a pill cut in half and set aside months ago, or a box missing its insert and its date. Cost: $0.
Unlabeled containers are the ones that cause trouble, because a bottle you can’t identify is useless at the exact moment you need something fast. Set these aside with the expired pile for safe disposal in the next step. Nothing stays on the shelf unless you can read what it is and when it stops being good.
4. Check the Contents, Not Just the Date
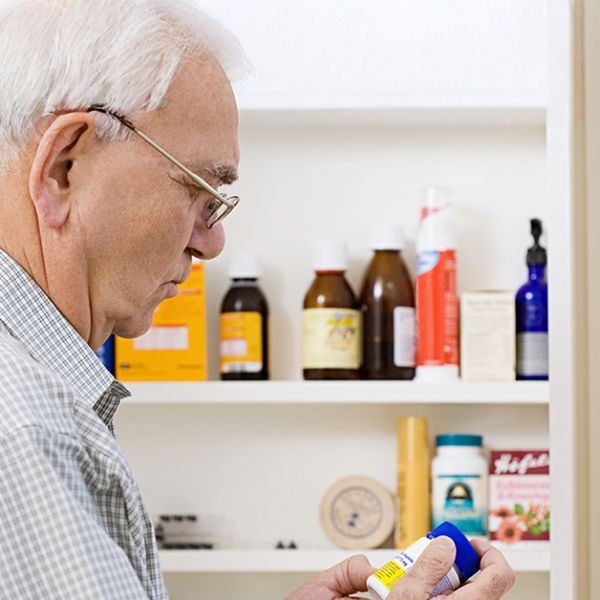
Some things go bad before the date on the box says they should. Cost: $0 to check. Tip bottles toward the light and look at what’s actually inside: tablets gone chalky or crumbling at the edges, liquids that have separated or turned cloudy, caps that no longer seal, anything with a sticky residue running down the side.
Heat and humidity are usually the culprits, which is why the label’s storage instructions matter more than wherever the bottle has always lived. Follow the label over habit.
A quick visual pass alongside the date check means you’re not trusting one printed number to tell you whether something held up where you stored it.
5. Dispose of Old Medicine Safely
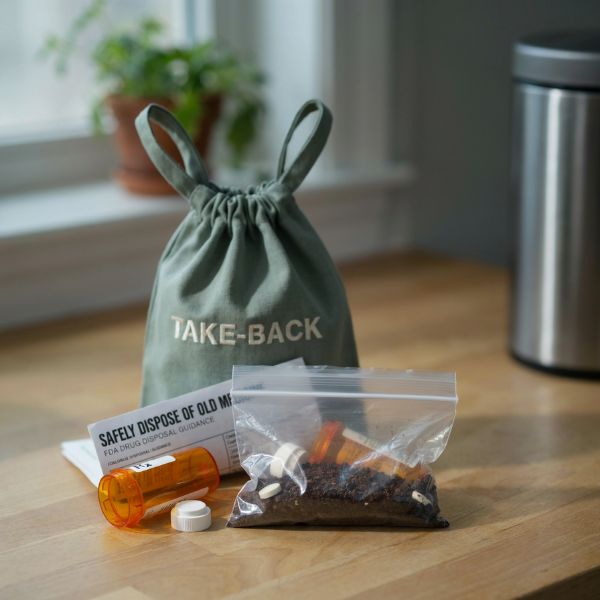
Most pharmacies run a take-back kiosk right inside the store, and many police stations have a drop box in the lobby. Both cost $0. The DEA also holds a National Prescription Drug Take Back Day twice a year, with collection sites listed on their website. Those are the first places to try.
The FDA maintains a short flush list of specific high-risk drugs that should go down the toilet when no take-back site is available. For everything else, the at-home method works: mix it with used coffee grounds or cat litter, seal it in a bag, and put it in the household trash. The FDA’s drug disposal guidance page walks through all of it.
Back when we cleared out a shelf of old prescriptions after a surgery, the drop-off took ten minutes on an errand I was already running.
6. Scratch Out Your Name Before the Bottle Hits the Trash
Your name, address, and prescription number are printed right on that label, along with the prescribing doctor. Before an empty or discarded bottle leaves the house, scribble over the personal information with a permanent marker or peel the label off entirely. Cost: $0 if you own a marker. A two-pack of Sharpies runs about $3 at Walmart, or about $1 for a single at Dollar Tree.
Keep the marker in the same spot you do this sorting so the step doesn’t get skipped later when you’re tossing one bottle at a time. It takes about four seconds per bottle, and the recycling bin at the curb stops carrying your medical history out to the street.
7. Toss Damaged First Aid Supplies
A bandage that won’t stick is the same as no bandage. Go through the first aid pile with that standard: adhesive strips that have curled or lost their tack, ointment tubes dried at the tip, gauze with the sterile packaging torn open, and crushed boxes where everything spilled together. Cost: $0 to clear out.
Torn packaging is the big one. Once that seal is broken, gauze and pads aren’t sterile anymore, no matter how clean they look sitting in the box, and pulling them now means you’re not standing over a scraped knee peeling three useless bandages before you find a working one.
8. Wipe the Shelves
Five minutes with a spray bottle and the empty cabinet looks like a different cabinet. Cost: $0 if you have white vinegar on hand. Mix equal parts vinegar and warm water in a spray bottle, spritz the shelves, and wipe with a cloth or paper towel. A gallon of white vinegar runs about $4 at Walmart, which makes gallons of cleaner, versus about $4 to $5 for a single bottle of all-purpose spray.
It works on glass shelves, painted wood, plastic liners, and the inside of the door. Skip vinegar on natural stone or marble and use your regular all-purpose cleaner there instead.
A sticky amber ring from a leaked bottle can weld itself to a shelf in a matter of months, so let everything dry completely before anything goes back in.
Group Everything By What It’s For
9. Daily Items in Front, Occasional Items Behind
Your front row belongs to whatever someone reaches for most days. Everything seasonal or once-a-year goes behind it. $0 and about two minutes, since you’re only deciding what sits where on a shelf you already have.
Two things matter here. Daily still means up and away, so convenience never wins out over putting the shelf above a child’s reach and sight. And a weekly pill organizer is not child-resistant, no matter how sturdy the lid clicks. That organizer needs a secure spot of its own, not a countertop or a nightstand.
This one holds up because the front row stays small. You’re not digging past three cold-season boxes to reach the thing you touch every morning, so nothing gets shoved back out of order.
10. Group by What It’s For
The afternoon my granddaughter started sneezing through a soccer game, and we came back to the house for allergy medicine, I stood at that cabinet pulling out boxes one at a time. It was all in there. None of it was together.
Five categories handle almost everything: pain and fever, cold and flu, allergy, first aid, stomach. Sort your pile into those five piles right on the towel. $0.
Nobody searches by brand name under pressure. They search by problem, which is what makes this the step that turns a cabinet into something findable.
Six months from now you may not remember where one specific box went, but you’ll remember which category it belongs to, and that’s enough to put your hand on it in ten seconds.
11. Small Containers You Already Own
Shoeboxes, a cutlery tray, the bottom half of a tissue box cut down with scissors, clean deli containers, an over-the-door shoe organizer with the pockets labeled. Most medicine organization ideas online start with a shopping trip, and this one starts with your recycling bin. $0.
You’ll need four or five containers total, one per category from the step above. Plan for the stomach and allergy bins to be the smallest and the first aid bin to be the biggest. A bin that’s an inch too deep forces you to tilt it out every single time, and that’s the kind of friction that quietly undoes the whole system by week three.
Measure your shelf depth first.
12. Label the Bins
If anyone else in the house ever puts things away, label the bins. A strip of masking tape and a permanent marker on the front edge of each container costs $0 and takes four minutes for all five.
Want something that survives longer than one humid season? A roll of painter’s tape costs around $4 to $6 at Walmart and peels off clean when categories shift. A basic label maker is around $20 to $30 at Target or Amazon, which is worth it only if you’ll use it elsewhere in the house.
Labels are what keep medicine organization from being a one-person job. Your husband, a visiting adult kid, a sitter: they can all put the box back without asking.
13. A Doubles Bin So You Stop Rebuying
Back when we were paying off debt, I emptied that cabinet and found three unopened boxes of the same thing, bought on three separate drugstore runs because I couldn’t see what I already had. That was real money sitting in the dark.
Set one small container behind your five category bins for unopened backstock, so the spares live back there and anything already opened stays up front where a hand lands on it. $0, using any extra box from the last step.
You glance at that doubles bin before a drugstore trip and buy what’s actually missing instead of a fourth box of something you’re already sitting on.
14. Kids’ Medicine in Its Own Bin
Give anything meant for the kids or grandkids its own container, separate from the adult categories. $0, and it takes about three minutes to pull those items out of the piles you already sorted.
The part people skip: the dosing syringe or cup that came in the box lives in that same bin. Not the junk drawer, not the dish rack, not the bottom of a diaper bag from 2019. Rinse it, dry it fully, and set it back with the bottle it belongs to.
Those tools aren’t interchangeable between products, which is exactly why keeping each one with its original package matters long after the cabinet looks tidy.
15. Vitamins, Supplements, and Pet Items Separate
Vitamins, supplements, and anything that belongs to the dog or cat get their own container, well away from the five categories. $0. Most households have enough of these to fill a shoebox on their own.
The reason is simple: they muddy the search. When you’re scanning the cold and flu bin at 2 a.m., you don’t want to sort past a fish oil bottle and the dog’s ear drops to get there. Pet items in particular should never sit shoulder to shoulder with the human ones.
16. The Sick-Day Kit
One grab-and-go bin ends the thermometer hunt for good. Mine holds the thermometer, spare probe covers, a dosing tool, a travel pack of tissues, lip balm, and a small notepad and pen for writing down what time someone was last checked. $0 if you assemble it from what’s already on the towel.
If the thermometer is lost or dead, a basic digital oral one costs around $10 to $15 at Walmart or Target. Grab batteries while you’re there.
I thought about this kit the whole night my grandson spiked a fever at our house, and I was opening cabinet doors one-handed. Everyone in the house learns this bin by sight, which is why it still works months later, in the dark, half awake.
Put It Somewhere Safe
17. Up and Away, Out of Sight
$0. The shelf you reach without thinking is usually the same shelf a determined five-year-old can get to with a step stool and about forty seconds of privacy. Moving everything up and away costs nothing but a few minutes of rearranging: medicine goes on the highest shelf you can comfortably reach, and whatever lives there now (extra washcloths, the backup shampoo) trades places with it.
Out of sight matters as much as out of reach. A closed cabinet door or an opaque bin keeps medicine from registering as something interesting in the first place, and you only decide the location once. It does the work from then on, even on the days nobody is paying attention.
18. A Lockable Box for Grandkid Days
If your house has crawlers, climbers, or regular visits from little ones, a small lockable medicine box comes in around $10 to $25 at Target or Amazon, and prices shift a bit by region. A combination lid beats a key version, because the key always ends up in the junk drawer.
One box is usually enough. Put the kids’ bin and anything you’d hate to see opened inside it, leave the rest on the high shelf, and you’re no longer doing a mental inventory of what’s within arm’s reach every time a grandkid wanders off toward the bathroom.
Lock it the way you buckle a car seat.
Find the Thermometer Before the Coffee Cools
No more digging through a jumbled cabinet while someone’s forehead burns up and the whole house is in a panic. That expired allergy medicine you’ve been holding onto “just in case”? It’s okay to let it go. These fixes work because they deal with the real problem, not just the cluttered look of it.
One sitting, one towel, and you’ll never dig through bottles again wondering if the medicine you need is even still good.
The post 18 Medicine Cabinet Fixes So You Can Find the Thermometer Before the Fever Gets Worse appeared first on Penny Pinchin' Mom.